
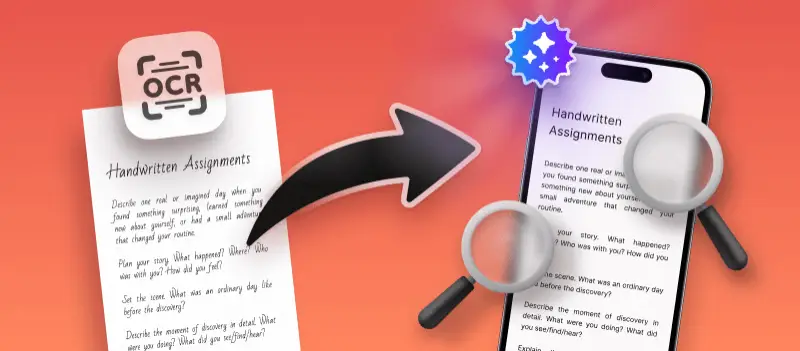

I’ve always loved writing things by hand, but storing those pages, sharing them, or searching through papers later has never been easy.
Recently, I started utilizing a few AI-powered OCR tools on my iPhone, and it genuinely changed the way I handle assignments and notes. What used to be a stack of pages slowly turning into clutter is now a clean collection of digital documents I can sort, highlight, and send anywhere.
In this guide, I’m walking through the exact process I utilize, the apps that work best, and a few small habits that made everything feel effortless.
Best OCR apps
Over the past year, I tried quite a few tools. Some were too slow, others struggled with slightly messy handwriting, and a few made exporting more complicated than necessary. These, however, stayed on my phone.
Notes (built-in)
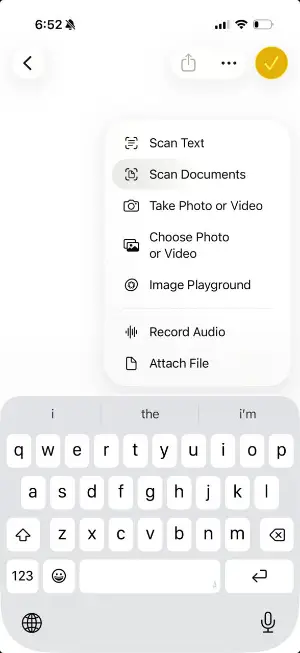
This one is already on every iPhone, so it’s a convenient starting point. The scan feature is straightforward: open a note, tap the camera icon, and capture your pages.
It handles clean text decently, but the OCR technology isn’t always accurate, especially with small lettering or anything written quickly. Still, when I need to archive something fast, the simplicity is hard to beat.
Adobe Scan
The automatic edge detection works even under uneven lighting, and the text recognition is strong with both cursive and block lettering. What I enjoy most is how it straightens distorted angles without prompting — the final PDF always looks crisp.
Notebloc
It has a more notebook-like aesthetic. The program removes shadows, boosts contrast, and gives a gentle “paper” feel without losing clarity.
The recognition is solid, and the export options are flexible. It’s also great for multi-page assignments because it keeps everything tidy.
Scanner Pro
This one leans heavily into AI OCR features. It identifies the orientation of each page correctly, enhances faint strokes, and picks up small details most apps ignore.
If you tend to write with light pressure or use pencils, this is particularly helpful.
A quick alternative without AI
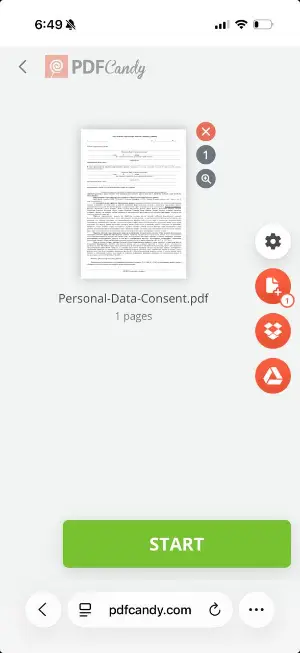
Once in a while, I opt for PDF Candy online OCR when I need basic printed recognition without additional enhancements. It’s simple and gets straight to the point.
My workflow using OCR with AI
After testing different setups, this method became my go-to routine.
Step 1. Prepare the sheets
I place the pages on a simple surface — my desk, a white folder, or even a large textbook. The smoother the background, the better the scanner locks onto edges. Lighting matters, so I usually:
- Move toward a window if it’s daytime
- Employ my desk lamp angled slightly from the side at night
Step 2. Capture in one continuous session
Stopping midway used to break the flow and leave me with random file groups. Now I scan everything in one go and flip the content like a deck of cards.
Helpful trick: finished sheets go into a second pile, so I never double-add something by accident.
Step 3. Let the app detect the frame
Most options detect edges automatically, but if anything looks uneven, I adjust corners manually. I do this mostly with pages that have doodles or uneven margins.
Step 4. Enhance for clarity
Edited pictures almost always produce better text recognition. I usually select something like:
- “Document”
- “Black & White”
- “Enhanced”
- “High contrast”
Cleaner strokes = fewer OCR mistakes.
Step 5. Rename instantly
I once had an entire folder filled with “Scan (7)” and “Image_2021–10–11.” Never again. Now I immediately rename documents to:
- “Chemistry Homework – 14 Feb”
- “Geometry Notes – Week 2”
This tiny change saves hours later.
Turning scans into searchable PDFs
At this point, the pages are captured and cleaned up. The next step is the magic that turns handwriting into searchable content.
- I pick PDF as the output format.
- I make sure the option for embedded text is switched on.
- If the app lets me choose resolution, I go for medium or high.
After exporting, I check that the result is actually selectable. A quick way to do this: open the PDF, tap the search icon, and type a random word from the assignment. If it highlights, everything worked.
Storage
I keep my documents in iCloud Drive, grouped by subject. Some people prefer Google Drive or Dropbox — any cloud service operates as long as you can upload straight from the OCR app.
For large projects, I sometimes create folders for each month. It’s simple, and it keeps old work accessible without feeling overwhelming.
Tips I learned after using OCR tools a lot
Over time, I picked up small habits that improved the results.
Lighting matters
Natural light works best, preferably indirect sunlight. If I’m scanning at night, I keep the lamp above and slightly to the side. Direct source shining straight onto glossy paper can cause bright spots.
Avoid textured backgrounds
A smooth desk or white surface gives the scanner clear edges. Patterned backgrounds confuse some OCR apps and create uneven borders.
Keep handwriting consistent
OCR doesn’t need perfect neatness, but consistent spacing helps. I try not to switch between huge letters and tiny ones within the same line.
When working fast, I pause briefly before headings or formulas, so they’re legible later.
Bonus: Automating the process
Once I got comfortable, I began using Shortcuts on my iPhone to automate certain steps. Nothing too complicated — only small tools that cut a minute here and there.
Simple ideas
- A workflow that takes the latest file and moves it into a specific folder.
- A chain that renames documents based on the current date.
- A shortcut that combines:
- Open scanner → 2) Export to PDF → 3) Save to “Assignments” folder → 4) Give it a timestamped title.
The Shortcut button sits on my Home Screen next to my camera icon.
Now I just tap the tile, type “Chemistry Practice,” hold the phone over the page, and the rest happens automatically. It isn’t flashy, but it makes the whole process feel seamless.
Conclusion
Digitizing assignments used to feel like a chore, but once I found the right combination of OCR apps and habits, it turned into a quick routine that saves me time every week.
The best part is that everything stays both handwritten and searchable — I get the comfort of writing on paper without losing the convenience of digital organization.
If you’ve been letting notebooks pile up or taking photos you never look at again, this workflow might be exactly what you need.

(1).webp?w=420&h=184)
(1)(1).webp?w=420&h=184)
(1).webp?w=420&h=184)
